A Simple and Easy Way to Repair Damaged Threads using a Helicoil Kit
A quick guide for everything you need to know about using a Helicoil Kit, to repair damaged threads easily and efficiently!
What is a Helicoil Kit and why do we use them?
Are you unable to secure a screw, bolt or spark plug…? This could be that the thread is damaged caused by parts contracting a lot of vibration, fastening too tightly, placing in at the wrong angle or if the spark plug bonds to the head of the Cylinder, causing the threads to get destroyed. Luckily we can restore these threaded holes and apply a new insert, better than new, which is all provided in a helicoil kit.
We can cut through various soft materials such as aluminium, magnesium, cast iron, bronze, etc. As we use light weight and soft materials for parts nowadays, it can cause more damage to the threads.
Having a part that cannot be fitted correctly can cause major issues, a damaged thread can happen in most expensive machines, especially where there is a lot of vibration. When in use, you wouldn't want it to break down, as this could be hazardous to life. A helicoil kit can be used for many different parts and machines to repair damaged threads.
What is provided in a Helicoil Kit?
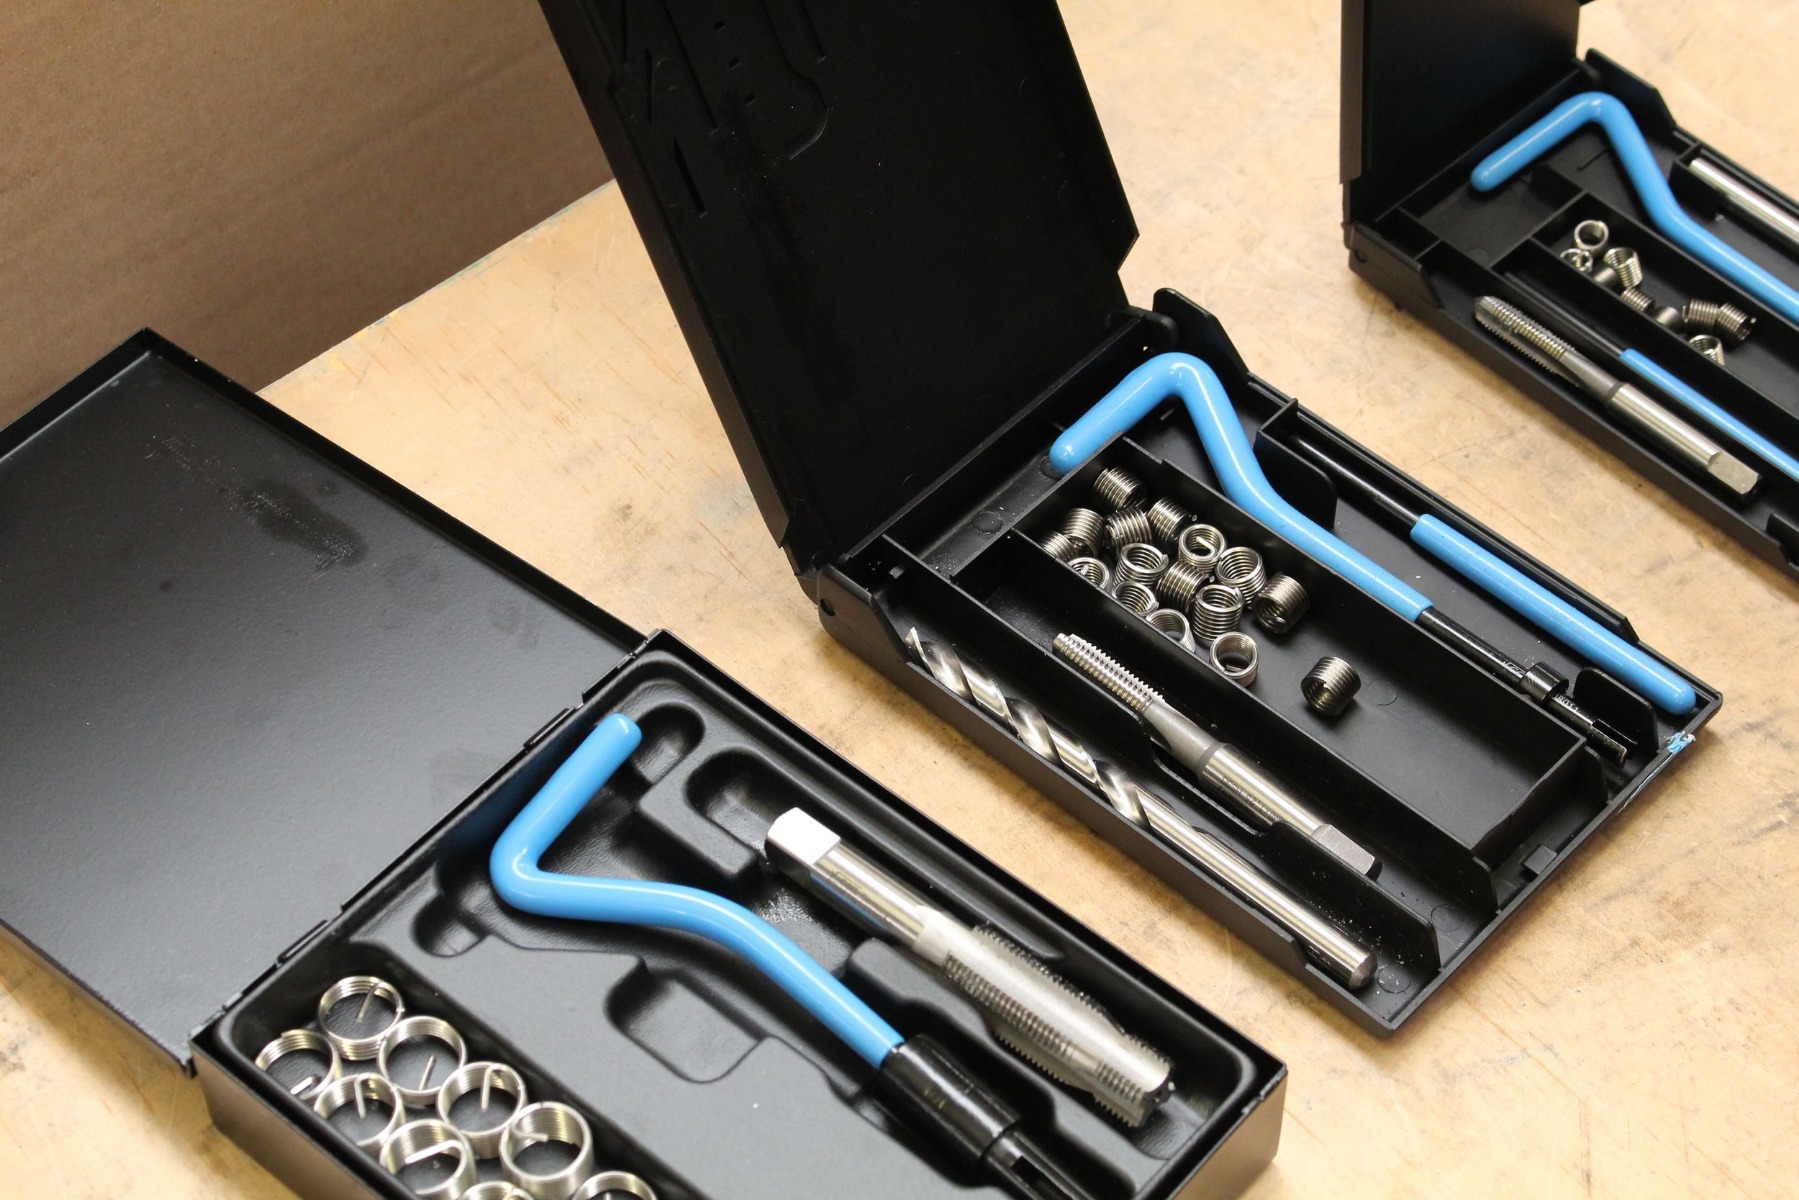
In a helicoil kit you are provided with:
Drill Bit - This part enables us to drill out the damaged threads, as a starting position to create a new threaded hole.
Tap - To create the new threads, this device cuts through the material, however this needs to be the correct size.
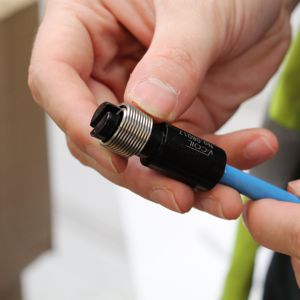
Installation Tool - This is a marker to identify the depth of the hole needed to be threaded, it also holds the new insert, so this can be screwed into the hole.
Insert - This looks like a spring that is screwed into the hole to create the new threads so we can secure a new bolt, screw or spark plug back into the part.
Breaking Tool - This snaps off the tang at the end of the spring, after when the insert has been threaded into position.
Inserts Explained:
Inserts are made out of hard stainless steel with diamond shaped wire, they have a notch for easy snapping and a tang so that it hooks onto the tool for easy insertion.
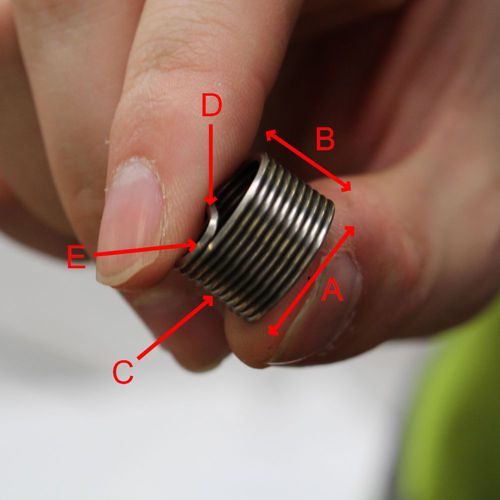
A - Diameter
B- Length
C - Pitch
D - Tang
E - Notch
Different Measurements & Types of Helicoil Kits:
There are various Helicoil kits out there to purchase, in our “How To” videos we have used a V-Coil, this includes the drill bit, a tap, installation tool, inserts and a break tool. There will be various different measurements regarding specific helicoil kits. Before starting you will need to determine the size of the helicoil needed to rethread. You will need to use the bolt or spark plug to identify the:
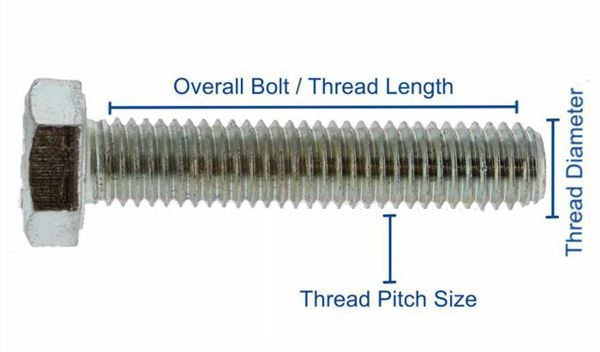
Diameter: Using a caliper, measure the diameter of the bolt.
Pitch: The size of each thread on an insert. Therefore using a Screw Pitch Gauge, measure the bolt, screw or spark plug to understand what pitch size is needed.
Nominal length: The length of the insert to rethread into the hole.
For example the information on the helicoil kit will be displayed as M12 X 1.25. M12 will be the diameter and the pitch will be 1.25, this is the size of an individual thread. In the kit there will also be various different inserts regarding the nominal length, (depth of the hole) so you can match the correct insert in the damage hole.
What is the difference between repairing a bolt or a spark plug?
The only difference would be that you don’t need to pre-drill if using the special spark plug tap. Like repairing screws and bolt threads, we will have to use the drill bit to clear the damaged thread before we use the tap to cut the new threads.
When would I need to re-thread a damaged hole?
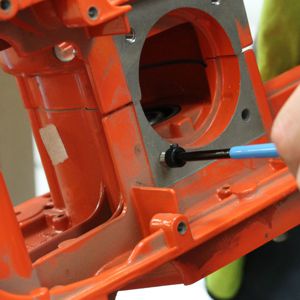
Bolts and Screws:
This could be that the thread is damaged caused by parts contracting a lot of vibration, fastening too tightly or placing at an angle where the threads can get destroyed. Having a part that cannot be fitted correctly can cause major issues. We can Re-thread bolts and screw holes using helicoil kits, for numerous parts and machines.
Spark Plug:
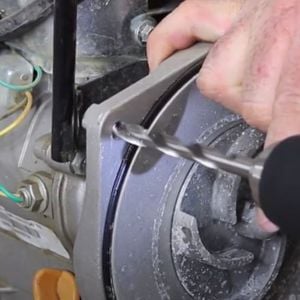
We may need to rethread the spark plug hole, especially when it has been left in the cylinder for years, which can cause the spark plug to bond to the head. Therefore when you want to change the plug, it might damage the thread when removing. As a result we need to rethread this part so we can replace the spark plug. Furthermore, the spark plug can also be blown out by the cylinder compression, destroying the threads resulting from the spark plug being too loose or too tight.
How to repair - A Quick Explanation from Ve-coil:
 Step 1
 Step 2
 Step 3
 Step 4
 Step 5
 Step 6
 Step 7
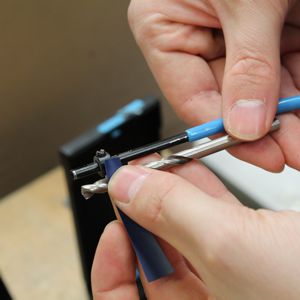
Drilling
Clear the damaged threads with a standard drill. Up to M12 (½”) The kit will come with a Drill Bit. However to repair the spark plug as mentioned before no pre-drilling is needed.
TOP TIP: To avoid the fancy tool, a simple and cost effective way to know how far to drill out a damaged thread is to measure the depth of the hole and mark this on the drill. You can use tape around the drill bit so you know where you need to drill to. You may want to use a vice to hold parts in place.
Check
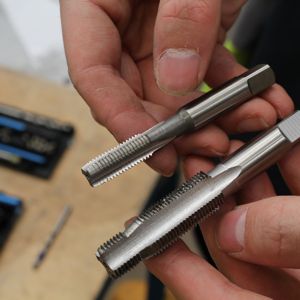
You will need to inspect the thread and pitch of the tap, so it matches to the bolt.
Tapping
Using the V-Coil taps, cut the new threads into the hole.
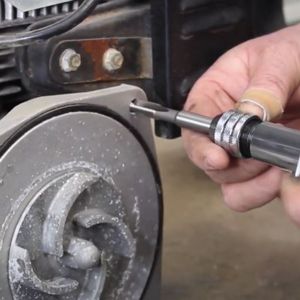
Install the Insert
Place the insert on the installation tool and position the adjustable ring so that the tang is centred in the slot. Wind the insert in the hole twisting the new helicoil until it is secure, this should be half a turn below the surface. Then unscrew the tool so the insert is securely in place.
Tang Removal
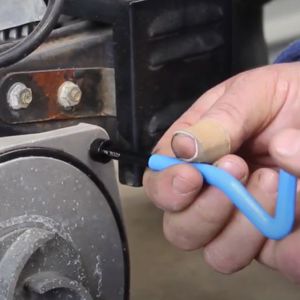
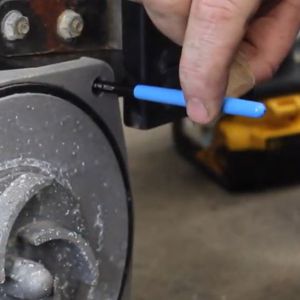
Now remove the tang at the end of the spring. Gently tap this with the break tool provided, the tang should snap off.
'How To' Related Videos
![]() 8mm Helicoil Thread Repair Kit£39.26 £32.72
8mm Helicoil Thread Repair Kit£39.26 £32.72![]() 12mm Helicoil Thread Repair Kit£51.00 £42.50
12mm Helicoil Thread Repair Kit£51.00 £42.50


 Step 1
 Step 2
 Step 3
 Step 4
 Step 5
 Step 6
 Step 7
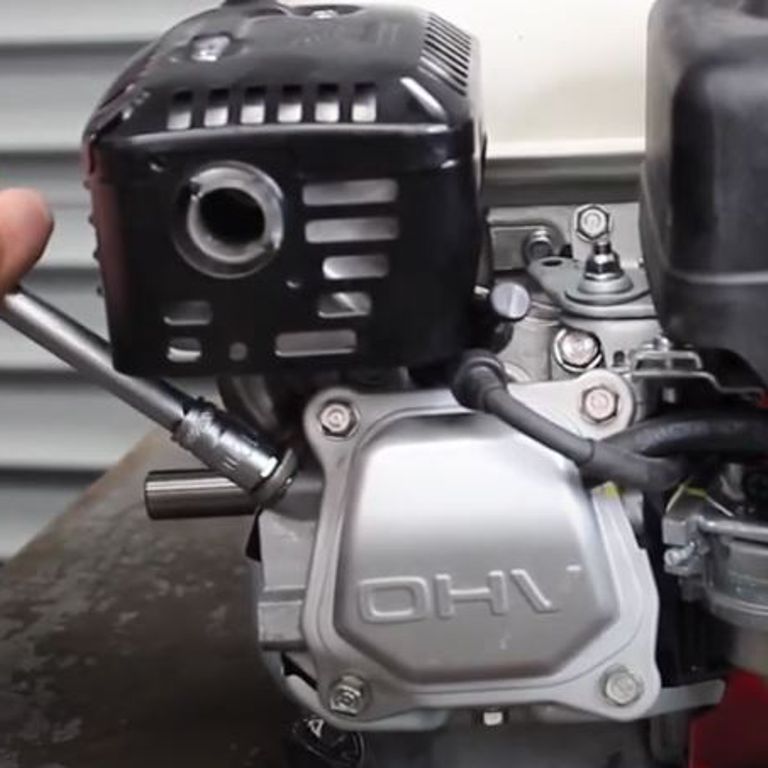
 Repairing Damaged Bolt Threads on a Honda GX160 Exhaust Muffler using a Helicoil Kit
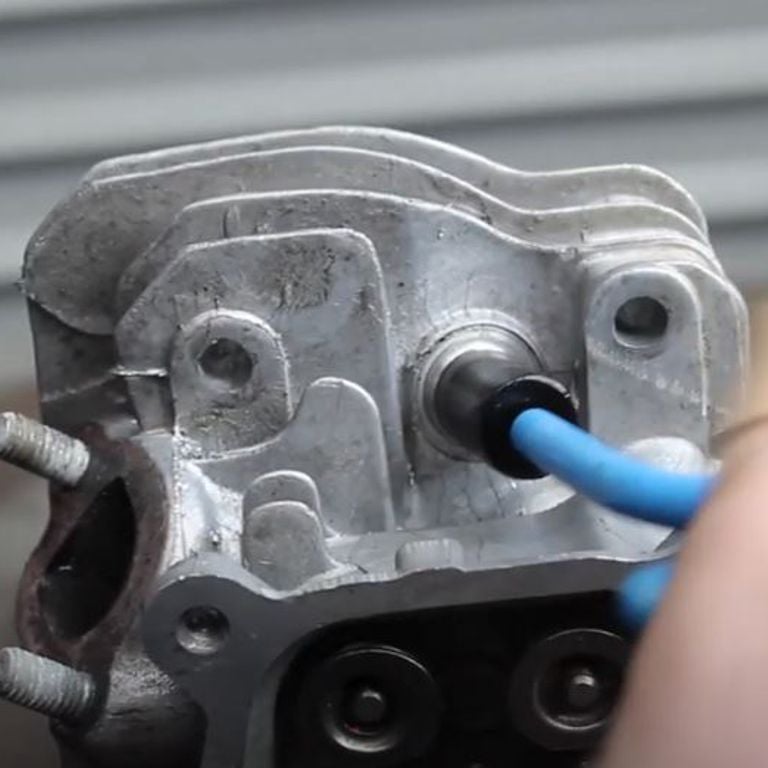
 Repairing the Spark Plug Threads for a Honda GX160 using a M14 Helicoil Kit
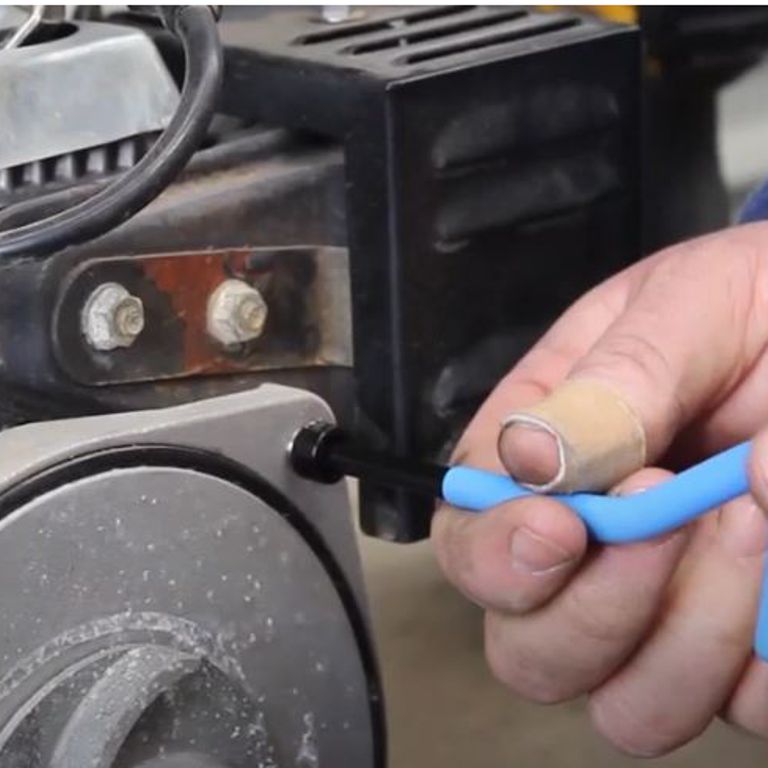
 How to Re-thread a Flange Bracket on a Loncin Water Pump using a Helicoil Kit

